I perused a few tutorials but they all called for the same basic materials. After a quick trip to Michael's and Lowe's, I was set. And since there is a decided LACK of DIY coaster tutorials on the old WWW, I thought I'd contribute my inexpert instructions. (Not really.)

You need: tiles (I bought the finished 4-inch white tiles for 16 cents each.)
Modge Podge (I chose glossy finish)
clear spray paint (also glossy)
scrapbook paper (I got mine at Hobby Lobby a couple months ago for another project and had a bunch left over.)
ribbon (I think mine's from Walmart, last Christmas)
sheet of felt (Walmart for 23 cents)
paint brush or sponge brush (I used a sponge brush)

First dab some modge podge on the tile...
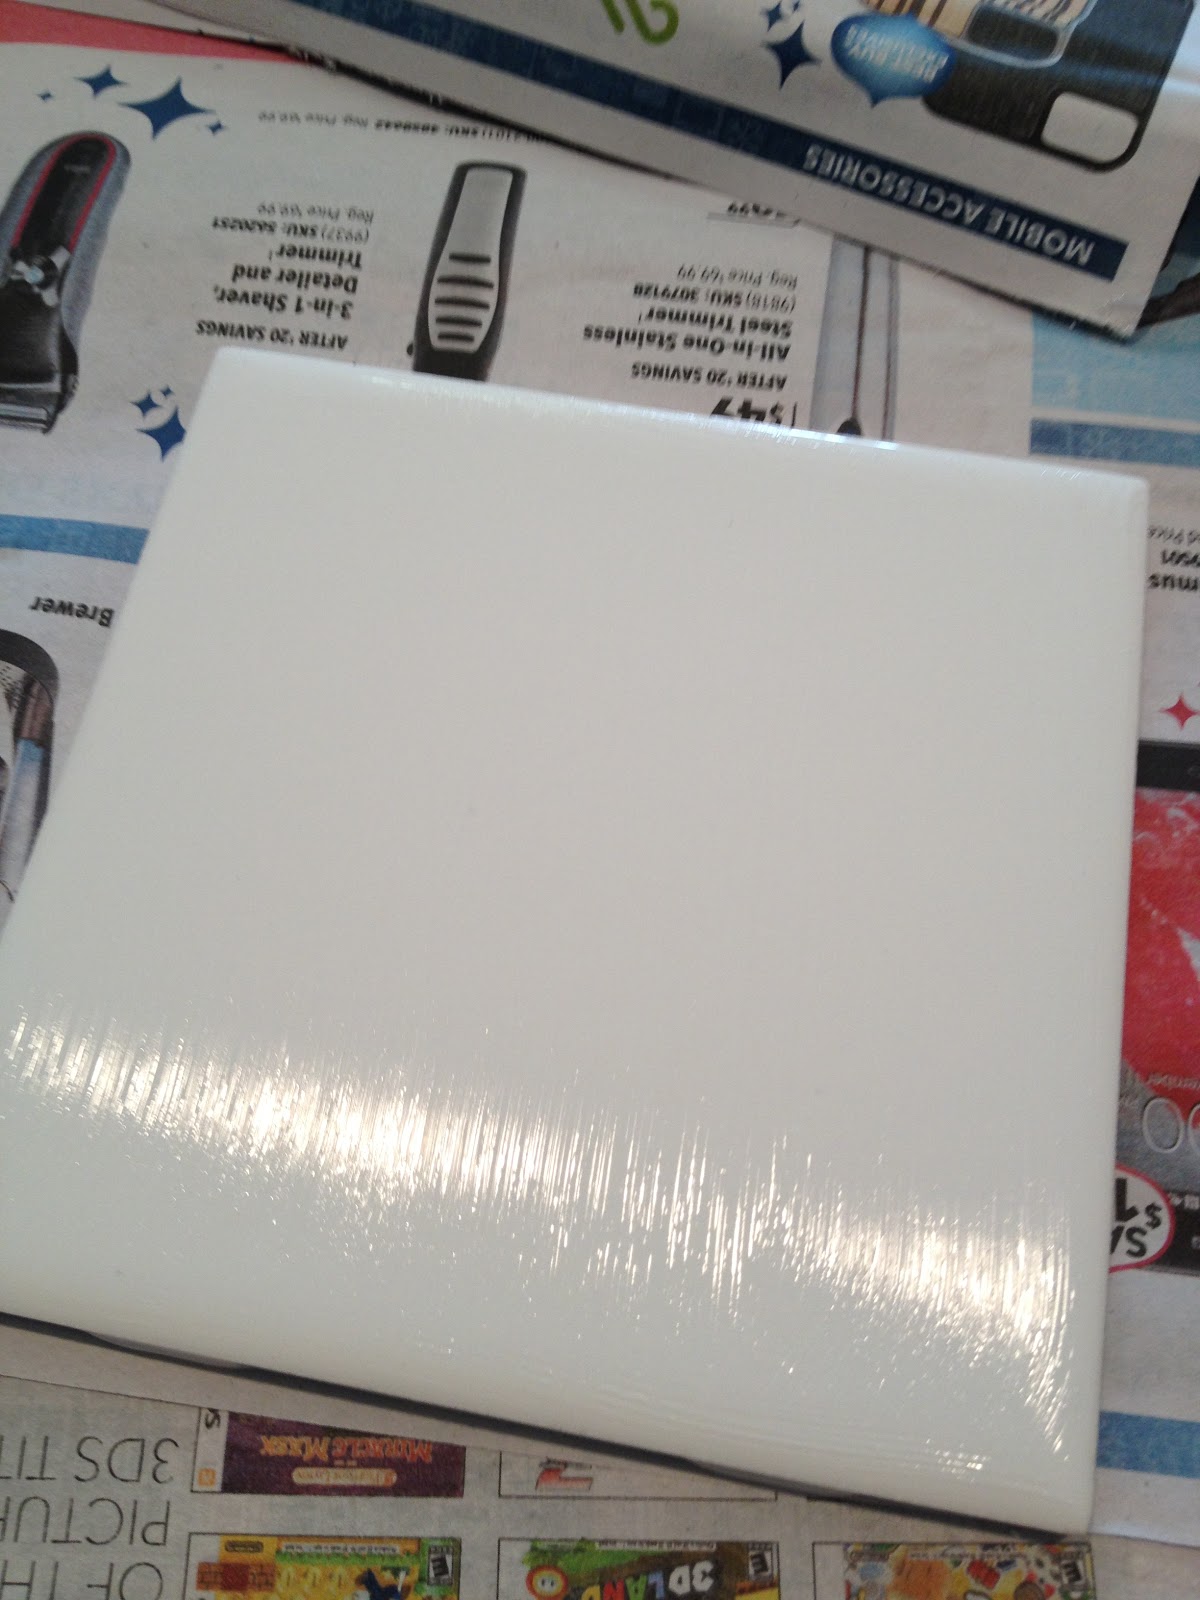
Then use the brush to smooth it all out, wiping off any excess.

Lay your paper on top and use your finger to smooth it out. Do this a few times so you don't get any bubbles underneath!

Be smarter than me and pull your hair back so you're not picking glue out of it.
Somehow I skipped taking a picture of the next step, but add some ModgePodge on TOP of the paper and use the brush to spread it around, making sure you get the edges of the paper. Then use your finger AGAIN to smooth down the edges.

Let the ModgePodge dry for a while and then spray with clear spray paint. Let it dry for a few hours. (And I would recommend spray painting outside unless you want to get high on fumes feel a little dizzy.

Cut little felt squares and hot glue them to the bottom corners of each tile.

I decided to do two coordinating coasters instead of matching ones, but you do whatever your crafty little heart desires.


The finished product! Tie a couple of candy canes (or not) and you're done! All that's missing on mine is the gift tags, but our printer is under the weather so those will have to wait.
I did learn a few things...
-Don't trace the coasters in order to cut out your paper, because your squares will be slightly bigger than the tile and hang off the edges. Then you will be forced to make your husband trim them all trim them yourself.
-Thin coats of ModgePodge are better than big globs. You can always add more, but if it's thick and goopy then the paper starts bubbling up and maybe even shedding a little.
-If you DO get too much ModgePodge on your brush, just squeeze it off onto the next tile... just make sure you lay down the paper before it dries or it won't stick.
-If you were the kid in kindergarten who liked putting glue on your hands just to peel it off, you'll love this. I washed my hands about a million times just to get all the ModgePodge off.
-A paper cutter would be super helpful in this situation, especially if you're unable to cut a straight line, like me.
(Don't worry... these aren't as complicated as I'm making them appear. I'm pretty sure it took me longer to type this post than it did to make the coasters. Just trying for the most-detailed-and-wordy-tutorial award.)
There you go... a (pretty) fast and easy (obviously, I made it) project. I think they turned out really cute! I made about a dozen sets of two and the whole thing cost about $15 (not including my hot glue and glue gun, or ribbon. Even if you had to go buy everything it would still only cost about twenty bucks which is not bad considering this is covering gifts for so many people.) There are so many beautiful Christmas scrapbook papers out there, and I am definitely doing some of these to match my living room that I can leave out all year. Although I wouldn't mind Christmas coasters year-round, but the other (Scrooge) living here might.
Oh, and if you are reading this post and happen to receive coasters from me in the next few days, do me a favor and act surprised. Thanks.
Ash


.JPG)

This is SUCH a great idea. I love coasters and think it's so cute how you tied the candy cane on them to wrap them up!
ReplyDelete